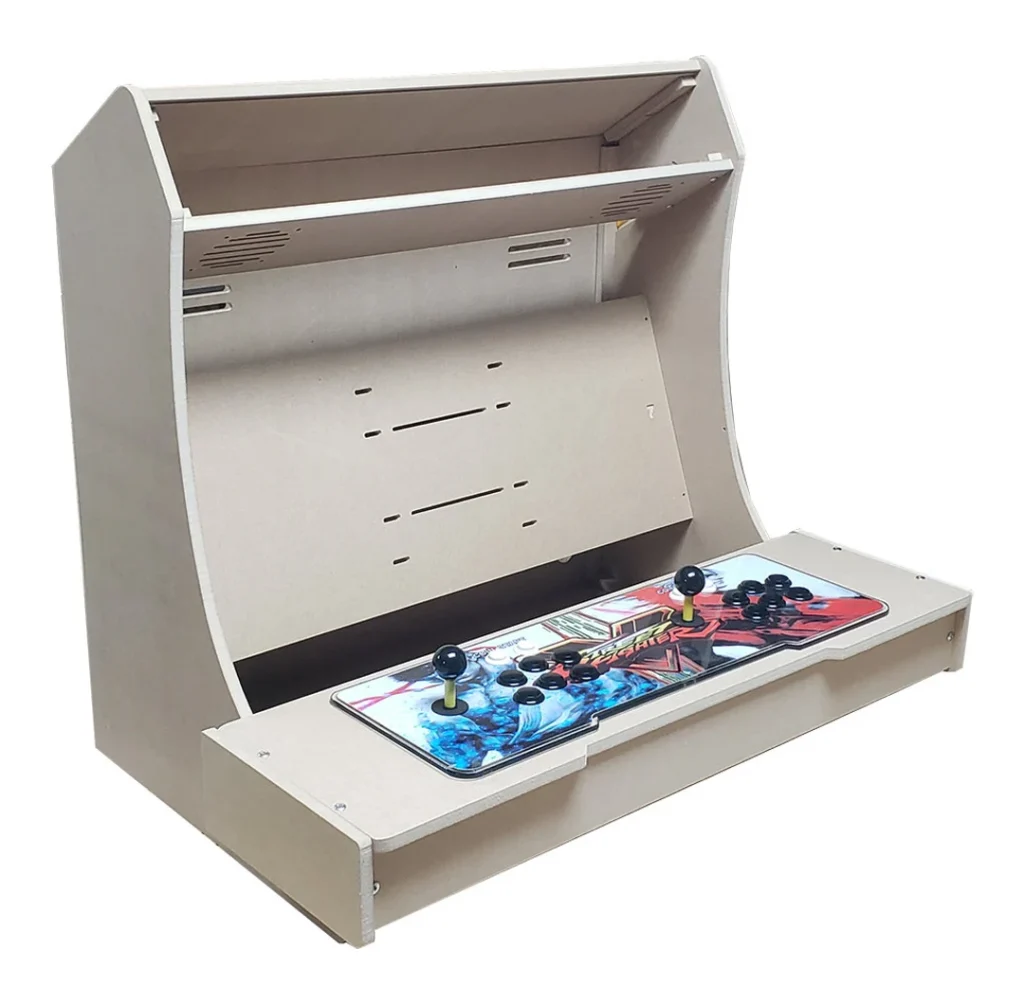
The kit is not the cabinet
Ask a room of builders what their bartop cost and you will hear the price of the wooden shell, quoted with pride. Ask what the finished, playing machine cost and the number roughly doubles. Neither is lying: a bartop kit is panels. A bartop arcade is panels plus a screen, controls, a computer, sound and a dozen small parts that each cost “almost nothing” in the way that a dozen almost-nothings do.
This guide prices a complete build honestly, from our own catalog. Where a price was verified on the maker’s own store, we print it. Where a product is sold through Amazon, we link the product page and leave the number to the listing — prices there move, and a budget built on a stale figure is fiction.
The line items
| Part | Our catalog pick | Verified price |
|---|---|---|
| Cabinet shell | Ourcades DIY Bartop | $150.00 (Ourcades direct) |
| Cabinet shell, upgraded | GameRoomSolutions Bartop Deluxe | $269.99 (GameRoomSolutions direct) |
| Cabinet shell, pre-drilled | LEP1 Customs LVL23 | See product page |
| Controls (sticks, buttons, encoders) | EG STARTS 2-Player Kit or Hikig 2-Player Kit | See product pages |
| The brain | CanaKit Pi 4 Kit or RasTech Pi 5 Kit | See product pages |
| Monitor | 19–23″ LCD you own or buy separately | Varies — the single biggest swing item |
| Sound | Monitor speakers, or 4″ speakers + Fosi BT20A amp | See product page |
| Finishing | T-molding, marquee light (Govee RGBIC strip), artwork | See product page |
Three builds, three totals
The blank-canvas build. Start with the Ourcades shell at $150. Add a complete 2-player control kit, a Pi 4 kit, and a monitor you already own — the retired office LCD is the unsung hero of this hobby — and the verified spend is the shell plus two catalog orders. This is the cheapest honest route to a playing bartop, and the one where your labor substitutes for money at every step: drilling, finishing, wiring, configuring.
The low-friction build. The GameRoomSolutions Bartop Deluxe at $269.99 costs $120 more than the blank shell and returns it in saved weekends: black melamine that needs no paint, cam-lock assembly, plexiglass included, panels pre-cut. Add the same controls and a Pi 5 kit for headroom, and the build is assembly and configuration only. Most first-time builders who price both routes honestly — including their own Saturday afternoons — land here.
The no-sourcing build. The Micro Center Atari Bartop Full Kit collapses the whole table into one box: cabinet, 21.5-inch monitor, joysticks, twenty buttons, speakers, amplifier, a Raspberry Pi 3B+ and a card with over 140 licensed Atari games. The Pimoroni Picade takes the same philosophy smaller, including its screen and controls. You pay for the consolidation, and for a first machine it is frequently worth it.
The costs nobody lists
- The monitor decision. A new 22–23″ LCD can cost more than the shell. A used one costs nothing and may carry a TN panel with poor viewing angles — at bartop distance, with two players standing off-center, angles matter. IPS if you are buying.
- T-molding and artwork. Some shells include the T-molding slots but not the molding; artwork ranges from a printed template (included with Ourcades and GameRoomSolutions kits) to a full custom wrap. Budget something; a raw MDF edge is the difference between furniture and project.
- The second order. Every build generates one: the forgotten powered USB hub, the right-length HDMI cable, the marquee light. The Govee strip at least makes the marquee light the cheapest line in the budget.
- Sound, eventually. Monitor speakers start every build and satisfy almost none. The Fosi amp and a pair of passive 4-inch speakers are the standard second-phase upgrade — the shells above are pre-drilled for 4-inch speakers because the makers know.
Reading the table like a builder
Two patterns in the line items deserve attention. The first is the shell spread: $150 to $269.99 buys the same rough box, and the difference is entirely labor — pre-drilled panels, finished surfaces, included plexiglass, assembly systems that trade your evenings for their engineering. Neither end of that spread is a mistake; pricing your own weekends is the entire skill of budget building. The second pattern is the monitor, which sits outside the catalog table because it sits outside most budgets’ honesty: it is routinely the largest single cost of a DIY bartop when bought new, and routinely free when a retired office display is pressed into service. Every credible low total in this hobby has a scavenged screen inside it, and there is no shame in that line item — there is only shame in pretending it is not load-bearing.
Note, too, what the verified-price column teaches about this market: the makers who publish prices on their own stores (Ourcades, GameRoomSolutions) anchor the budget; Amazon-sold components are priced at the listing and move with sales and seasons. A serious budget exercise therefore works in two passes — fix the direct-priced skeleton first, then price the Amazon basket on the day, rather than anchoring a month of planning to a number a marketplace may retire overnight.
Build vs. buy, without romance
A ready-made cabinet like the Arcade1Up Class of ’81 Deluxe or the compact Ms. Pac-Man Classic SE trades money for certainty: a fixed game list, licensed artwork, an evening of assembly, and a machine that plays the same for everyone. A DIY bartop trades time for control: your screen, your controls, your entire library, and a cabinet that is exactly the one you specced. Neither is the budget option in any absolute sense — the DIY build wins on capability per dollar, the ready-made wins on hours per game played. Price your own weekends before you decide which currency you are spending.
A worked example, end to end
Assemble the low-friction route on paper. The GameRoomSolutions Bartop Deluxe anchors it at a verified $269.99 — melamine finish, cam-lock assembly, plexiglass included, so paint, sealant and a glass run cost zero. Add a complete 2-player control kit and a Pi brain kit at their listing prices on the day you order, and a scavenged 22-inch monitor at the traditional price of nothing. The remaining spend is the honest tail: T-molding for the shell’s pre-cut slots, a marquee light, an artwork print from the included template, and the small powered USB hub that every two-encoder build eventually wants. Total the verified anchor and the tail is modest; the two marketplace line items are the swing, and they swing within a range any builder can sanity-check in one sitting. Compare that shape — one firm anchor, two variable middles, a small tail — against any ready-made cabinet’s single firm number, and you understand the DIY proposition precisely: you trade price certainty for specification control, and the trade is fair in both directions.
Every product referenced here links to its full page with specifications and current seller pricing, so the budget you build from this guide is the budget as it stands today.